Phase 1 – Foundation Wall Rebuild With Full Perimeter Waterproofing:
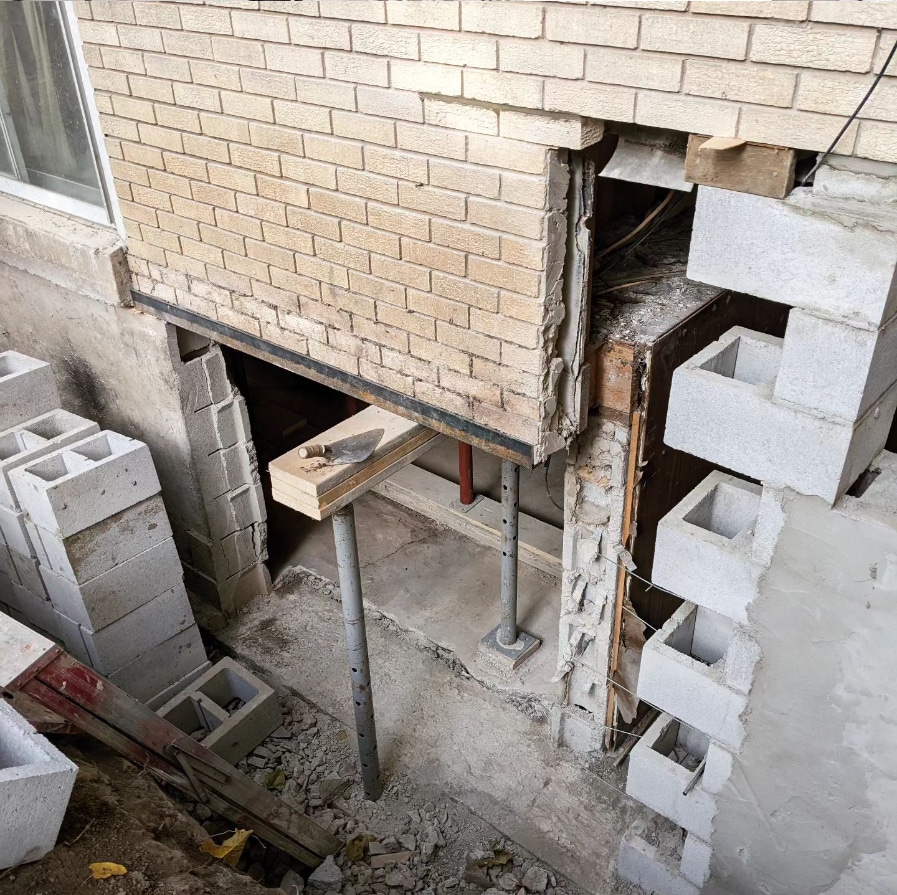
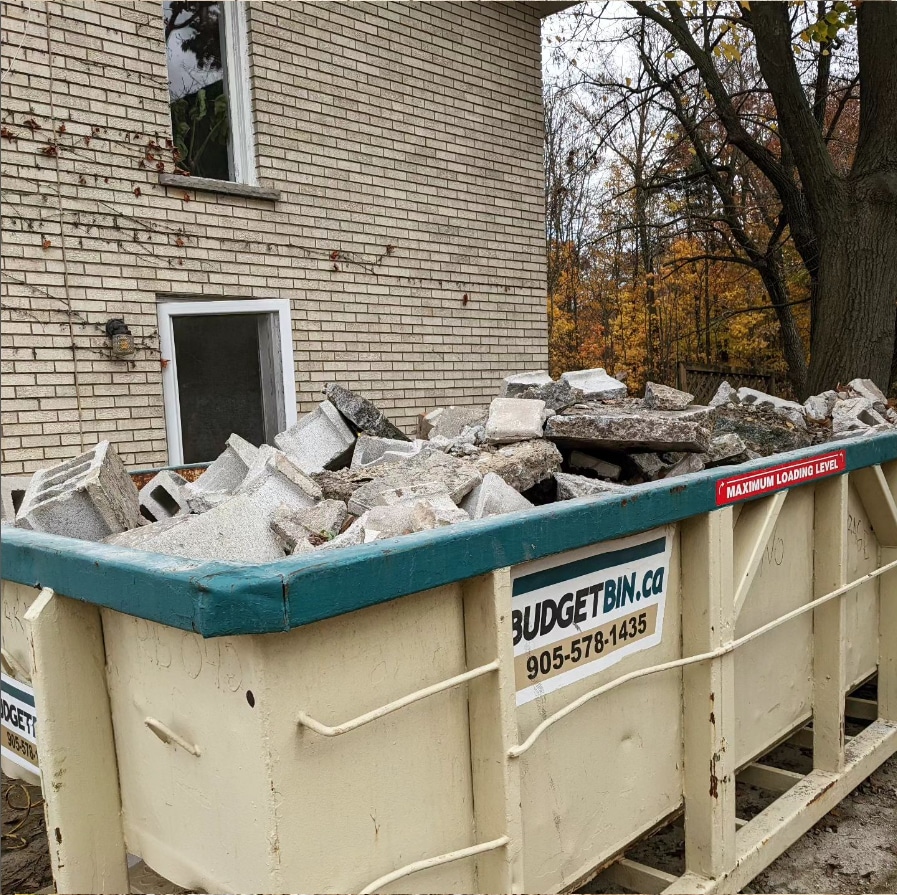
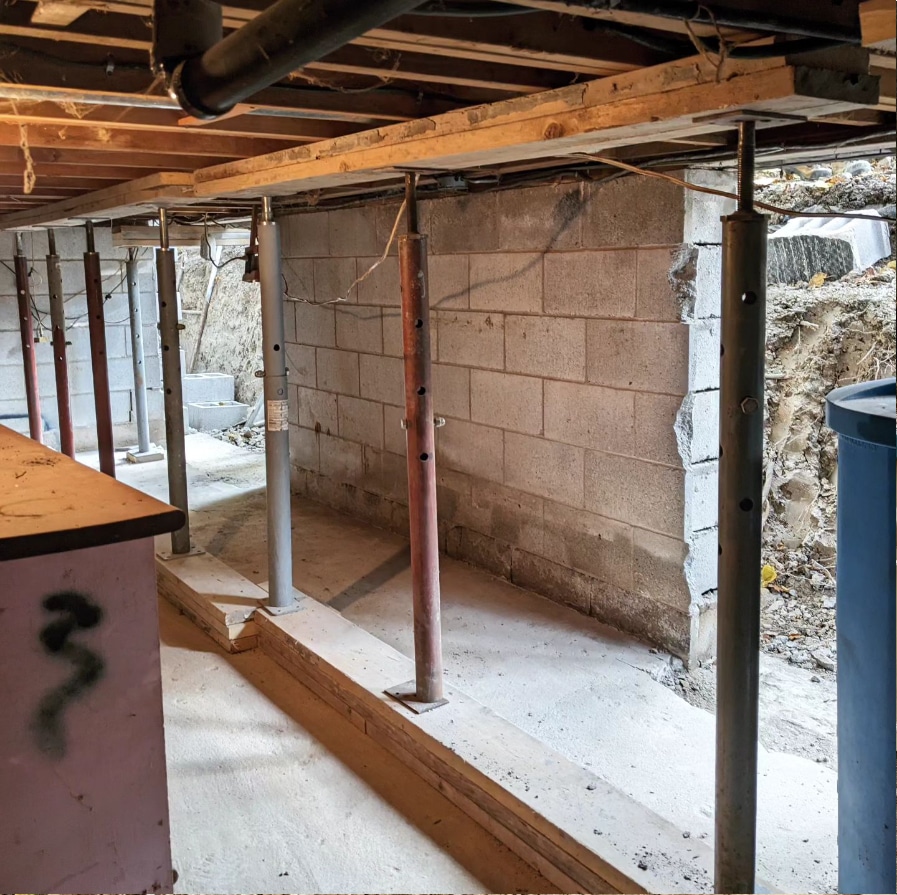
Remove all debris from exterior perimeter of foundation walls (shrubbery/decking/concrete pads/etc.) and dispose. On interior of basement, remove all obstructions from area of foundation walls. Once clear, install telescopic shoring along complete length of rear foundation wall and lift structure off of damaged foundation walls in sections.
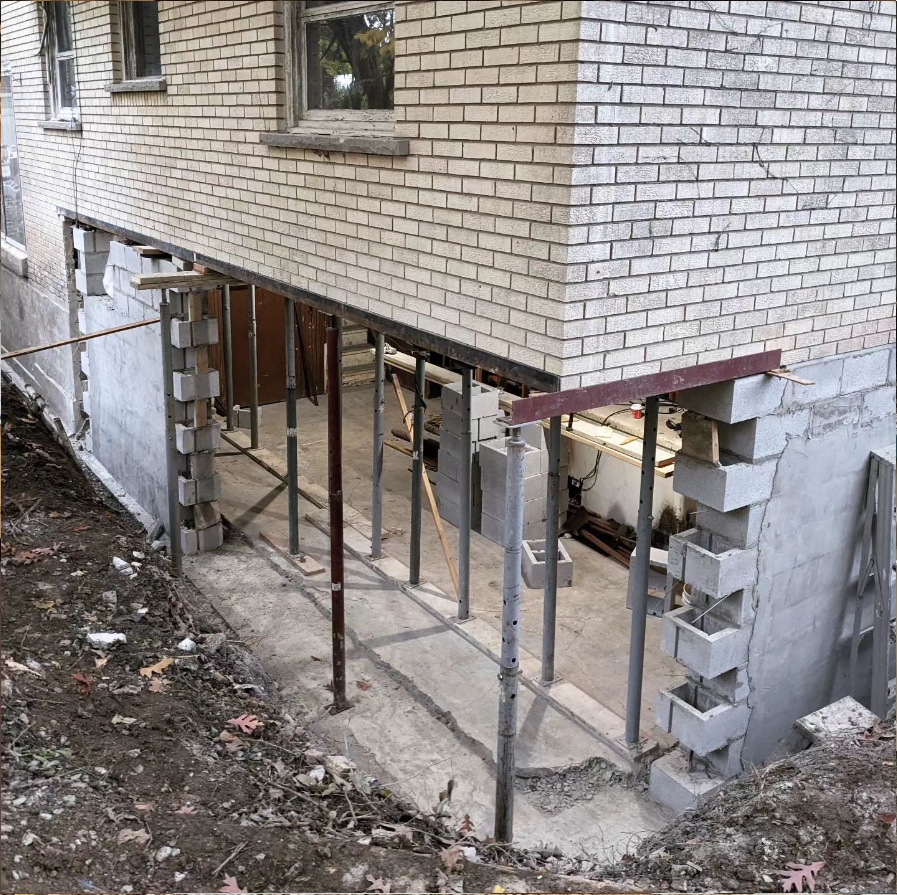
Once interior shoring is snug, saw cut bottom edge of exterior brickline and install iron support lintels beneath existing brickwork. Once lintels are pocketed and secure, dig down to footings around perimeter of rear/side foundation walls (approximately 60 linear feet of foundation wall to be replaced). Once excavated, saw cut damaged foundation walls and remove/dispose of by hand in sections (footing condition to be confirmed). If footings are in satisfactory condition, begin fresh blockwork construction in sections.
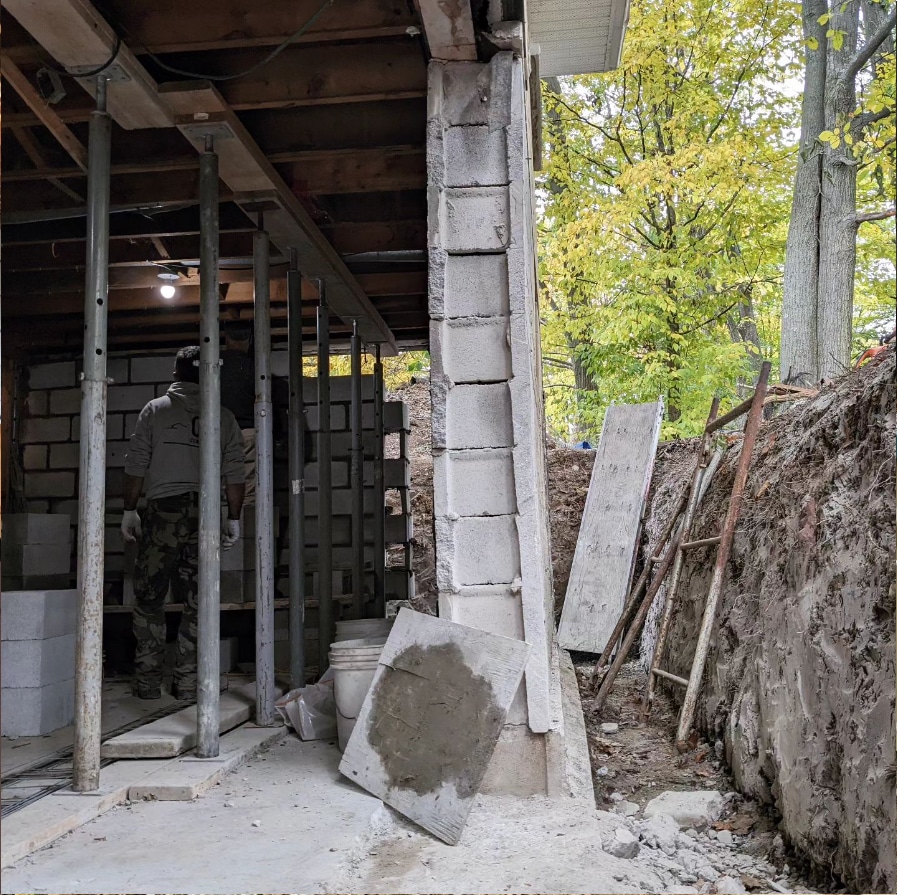
Drill 16″ 15M rebar into existing footings at 32″ OAC and anchor with epoxy. Once prepared, begin construction of fresh blockwork. During construction, install vertical 15M rebar at 32″ OC and fill rebar block cavities in segments. Connect fresh block wall construction into existing block walls with horizontal rebar and epoxy as per engineers drawings. Continue vertical block rebuild to underside of lintel-supported brickline and install 2-10M bond bars on top course of blockwork and in areas of window openings. Fill top cavities of block work solid and install J bolts at 48″ OC into sill plates.
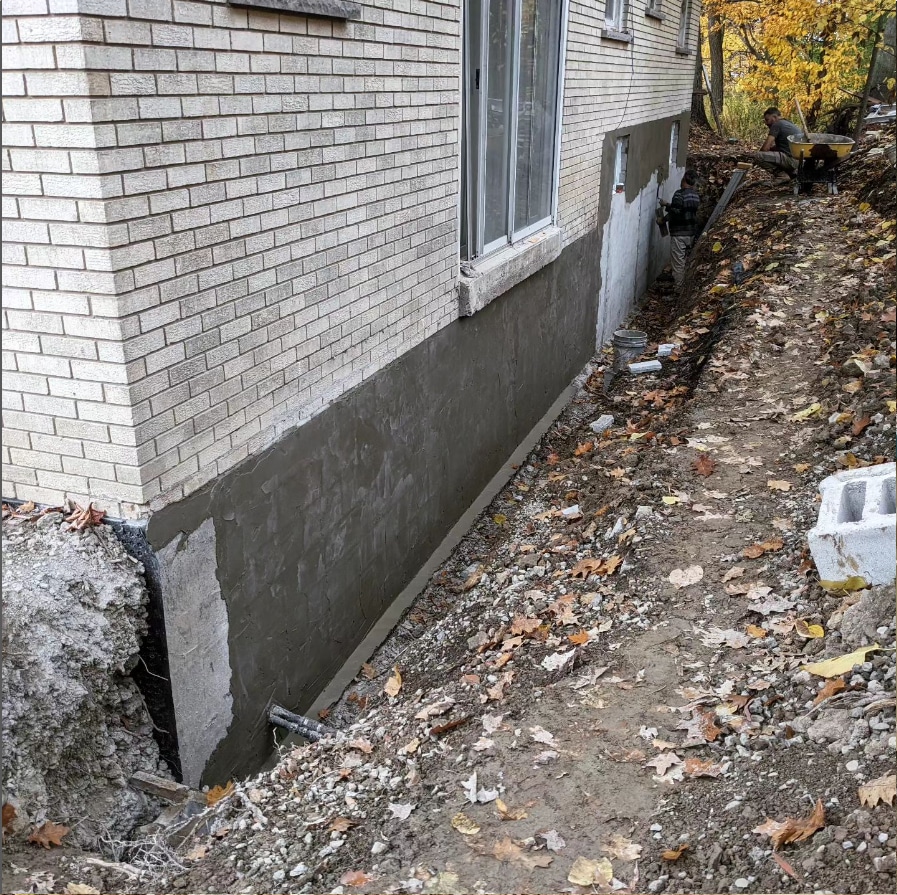
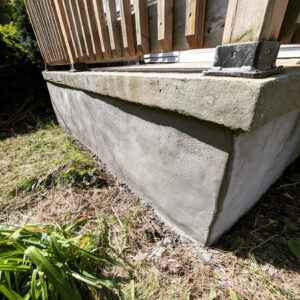
Once block wall construction is completed, parge exterior and let cure. Repeat rebuild process in sections along complete perimeter of proposed replacement areas. Once fully completed, remove all iron support lintels and reconnect existing bricklines to fresh block foundation walls. Remove all interior telescopic shoring from interior and rest structure back onto fresh foundation walls. Around remaining perimeter of exterior foundation walls, lay down tarps and excavate to footings (approximately 80 linear feet).
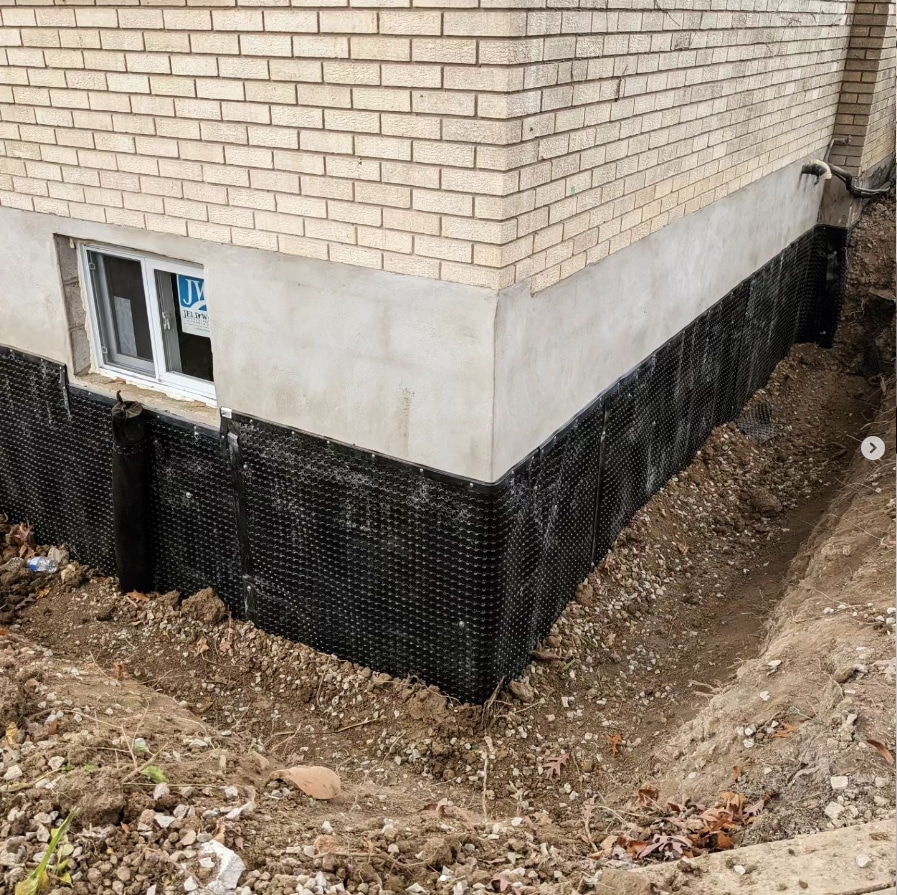
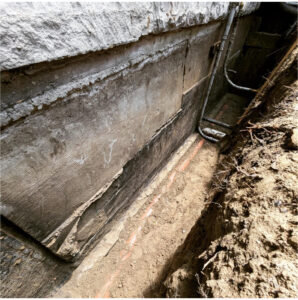
Remove existing weeping tile system and dispose. Clean foundation walls and repair all masonry voids in walls. Prime complete perimeter of foundation walls and apply hydroshield rubberized membrane to repair areas (complete perimeter of structure). Add a layer of mastic mesh, another layer of hydroshield rubberized membrane, a layer of 12m plastic and fasten drainage board to grade with termination straps and concrete anchors.
Phase 2 – Weeping Tile, Window Wells, Sump Pump, Backfill and Cleanup:
Install a fresh 4″ perforated corrugated weeping tile system around the complete perimeter of structure and cover with 8″ of 3/4″ clear gravel. Install vertical drains in proposed window wells.
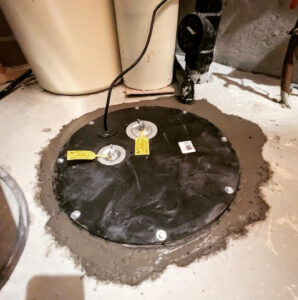
On interior of basement, remove existing concrete sump basin and install a fresh industrial plastic sump basin at a dimension of approximately 2.5ft x 2.5ft x 3ft. Line perimeter of basin with filter cloth and drill 1/2” holes around complete perimeter of basin. Install basin and surround with 3/4“ clear gravel. Install a 1/3hp oil cooled sump pump and deep cell marine battery backup pump. Connect sump pump exhaust line into isolated exterior gravel drywell for reliable all-year drainage. Connect fresh weeping tile system into new sump box. Reinstall interior concrete floor.
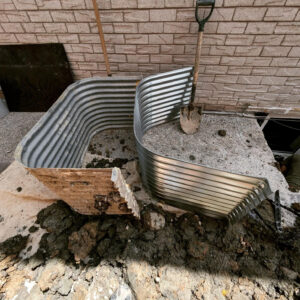
On exterior, fasten new window wells to foundation walls. Backfill complete exterior perimeter of foundation walls and power tamp soil to avoid settlement. Cleanup jobsite and remove and dump all debris. All labour and materials included.
